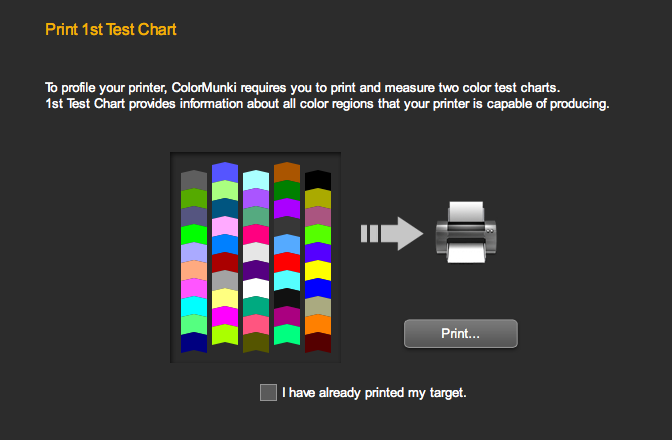
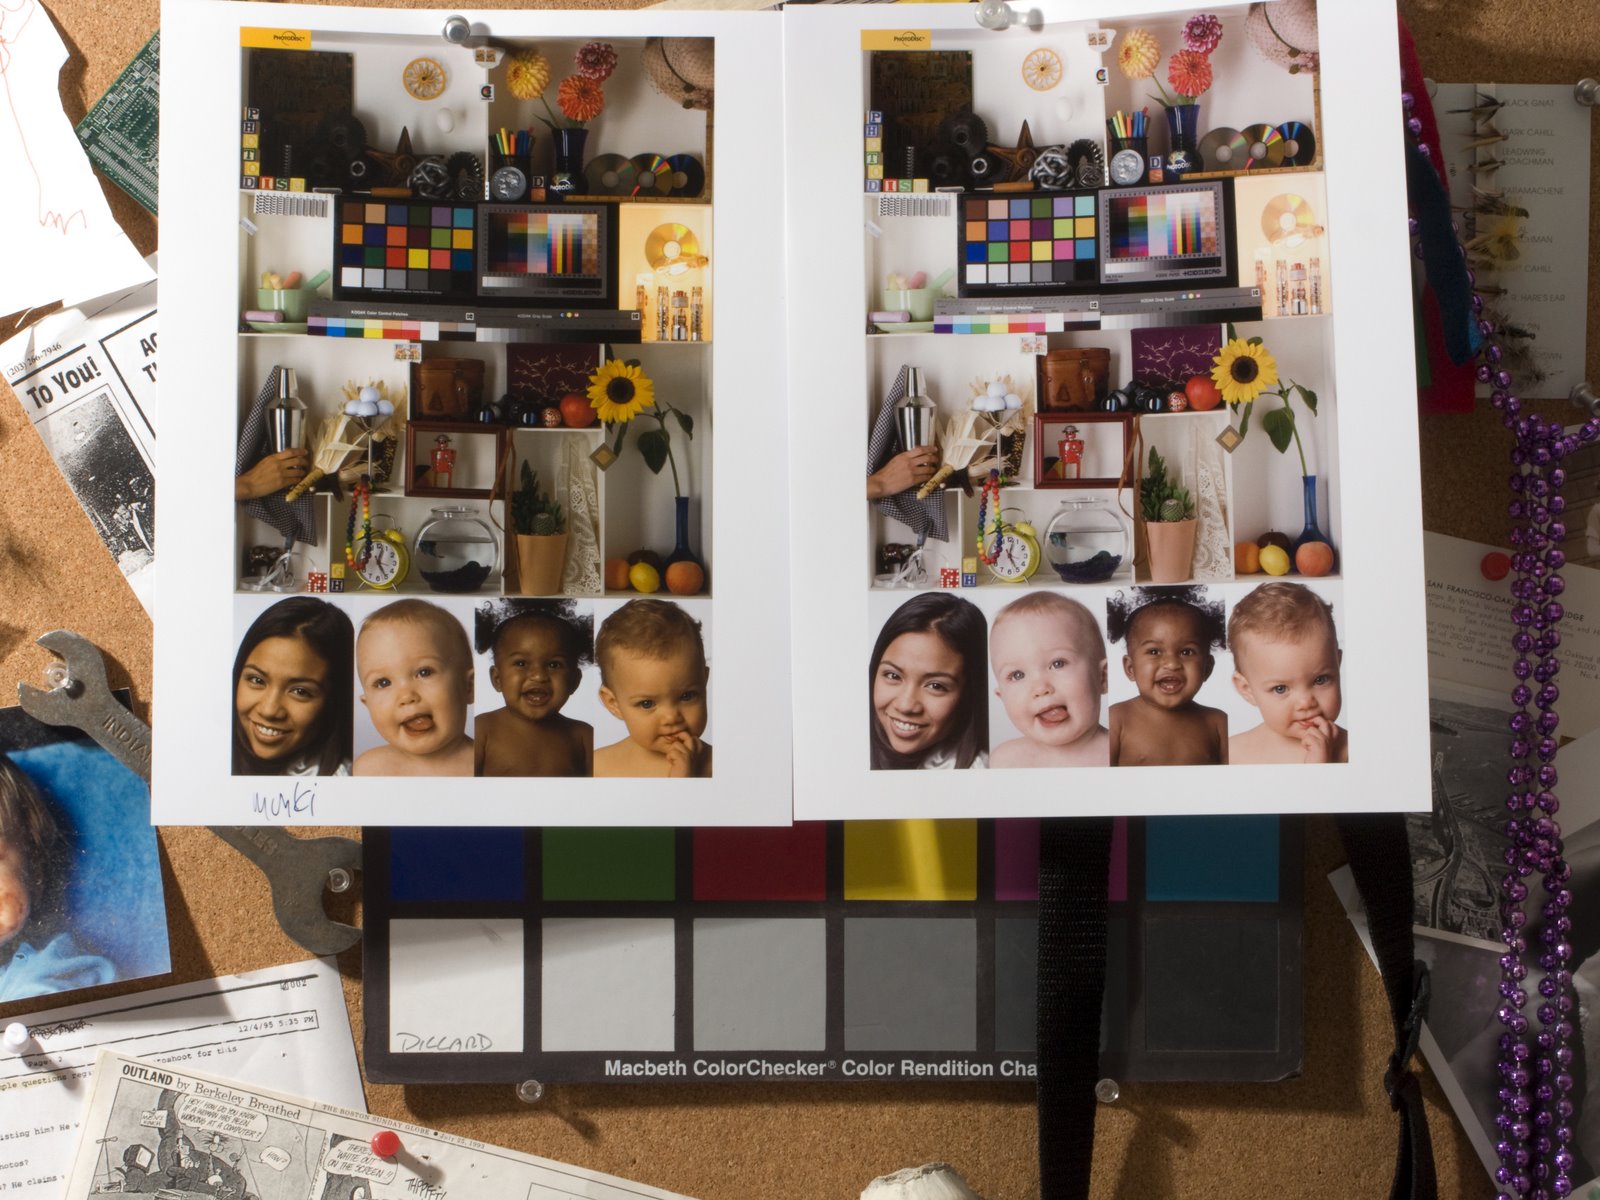
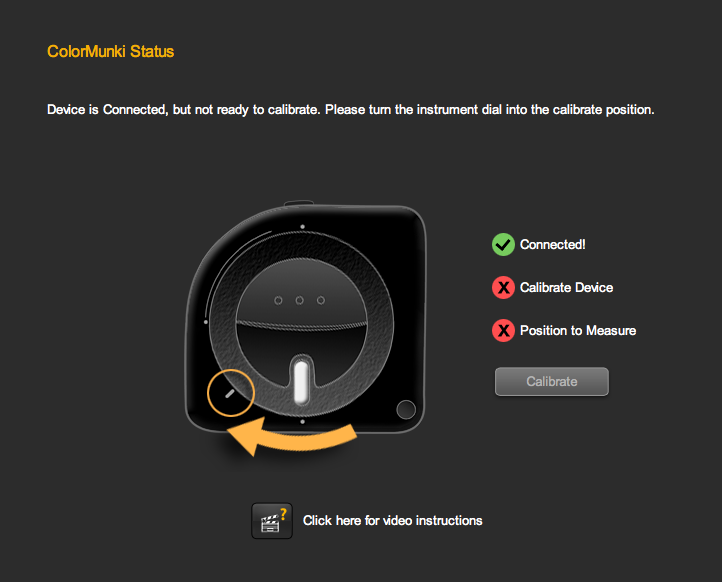
Here is a look at the process of building a printer profile with the Munki. They've done a great job walking you through every step... even including a timer to get you to let the ink dry down before you measure it.
Take a look...
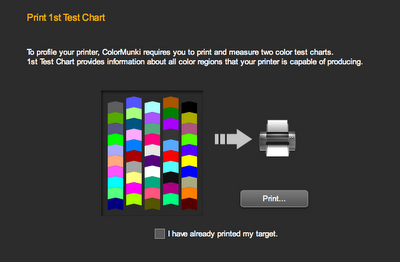
This is the first target... it's very basic, measures easily and quickly...
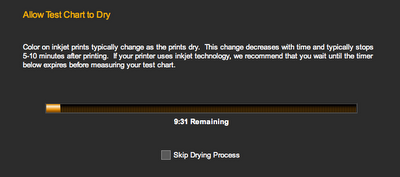
This is great. A timer. Purists, like Bill Atkinson, will dry a test target down for almost two weeks... but the ten minutes at least keeps the ink from smearing, when you measure it.

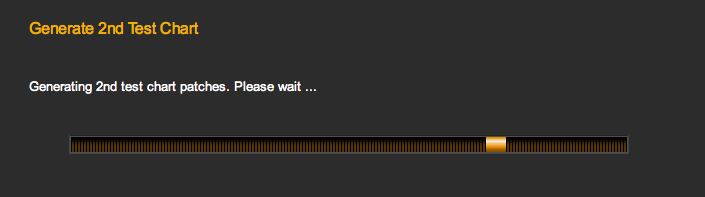
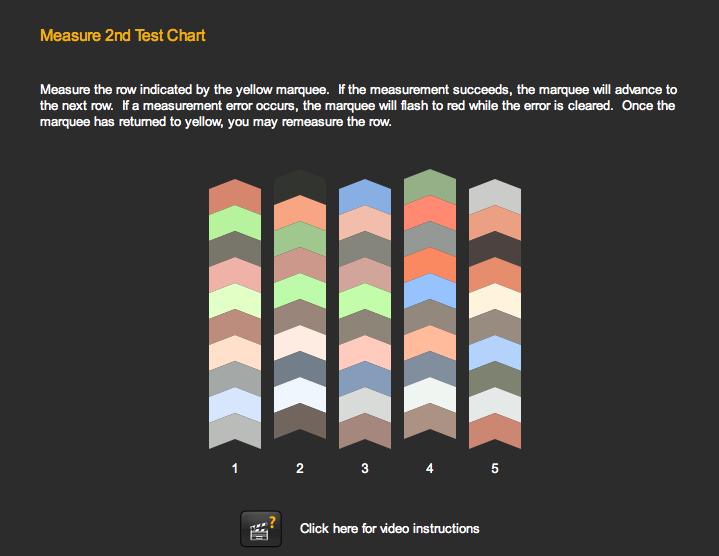
Here's the second step... the first target is used to generate a second set of patches. These second patches allow the program to fine-tune the primary color readings, sort of like smoothing out the rough edges, mathematically.
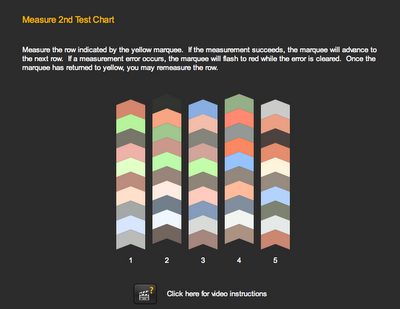
This is the second target.
This two-phase process is trying to simplify the steps and make it faster and easier. I'm not sure, but I think it is the same process as what you get on the big HP printers, like the Z3100, with the on-board profiling (also an XRite product).
It really is a great process. I've used the old Kodak system, Monaco, and of course, i1 Match, and they keep on getting better. Back in the day, you'd be measuring a great stack of patches, and the software would error out, and you had to start over at the beginning. It, well, sucked. The Monaco Pulse was the first system that was, actually, well, kind of fun. I always liken it to agitating film... sort of soothingly repetitive. This software is clearly an evolution of that.
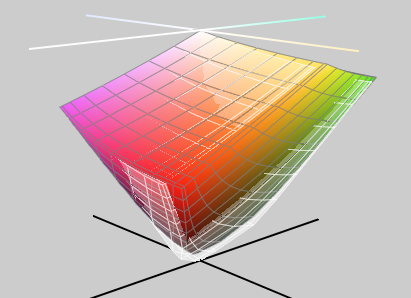
The only question is... can we do any better on the performance of the profiles? It's a great process, I just don't see the results. Before I come to any conclusions, I'm going to see if I can get to the bottom of these profiles, and see if it is just how they are, or if it's something I'm doing wrong.
Labels: Color, color management, ColorMunki, review